
If you get two estimates for the same house and one is much cheaper, the difference is almost never the paint. It's the prep. Paint is a few hundred dollars of the job; prep is days of labor, and it's the part that's easiest to skip because nobody can see it once the finish coat is on. But it's also the part that decides whether that finish coat is still there in five years. Here's what we do before we open a can, and why.
Outside, it starts with washing. Every exterior gets a power wash to take off dirt, pollen, mildew and — the important one — chalk, the powdery residue that old paint leaves as it breaks down in the sun. Paint applied over chalk sticks to the chalk, not the wall, and comes off with it. Then scraping: every area of loose or peeling paint is scraped back to a sound edge, because new paint over loose paint fails as soon as the old layer lets go. The scraped edges are sanded so they feather into the surrounding surface rather than leaving a ridge you can see from the driveway.
Next is the caulk. Exterior caulk at trim joints, window and door casings and siding butt-joints is what keeps water out of the wall, and it doesn't last forever — it cracks, shrinks and pulls away. We cut out failed caulk and replace it with a quality exterior sealant rather than smearing new over old. At the same time we look for soft or rotted wood, usually at the bottoms of trim boards, window sills and fascia, and either repair it or tell you plainly what it needs. Painting over rot just hides it for a season.
Then primer, where it's needed. Bare wood, repairs, new caulk, rusted metal and areas where the old paint has been removed all get primed so the finish coat bonds and covers evenly. Priming the whole house is rarely necessary if the existing paint is sound; priming the bare spots always is. A finish coat over bare, unprimed wood soaks in unevenly, looks patchy and doesn't last.
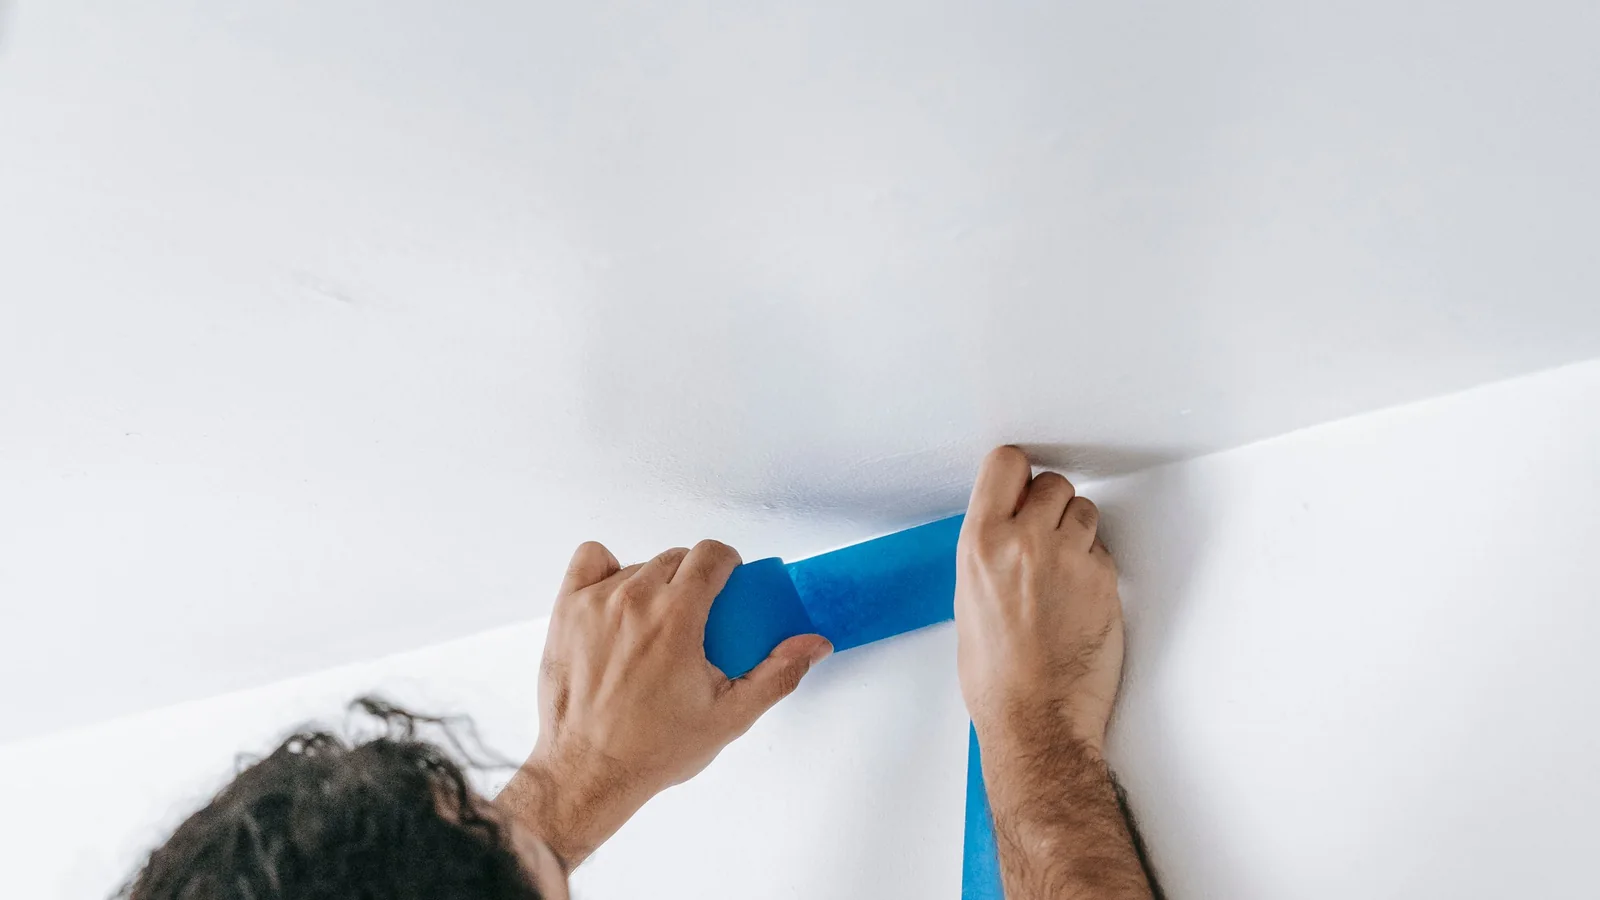
Inside, the steps are different but the idea is the same. Furniture is moved or covered and floors are masked. Every nail hole, ding and crack is filled, sanded flush and spot-primed — paint doesn't hide them, it highlights them, and a patched wall that isn't primed 'flashes' with a dull spot where the patch is. Glossy trim is scuffed so the new paint has something to grip. Stains from water, smoke or markers are sealed with a stain-blocking primer or they bleed through two coats of anything. And if the color is changing a lot, a tinted primer saves a third coat.
Cabinets are the extreme case. Kitchen cabinets carry years of cooking grease that no paint will stick to, so they're degreased, then sanded, then primed with a bonding primer designed for slick surfaces, and only then sprayed with a cabinet-grade enamel. Skip the degreasing or use a normal wall primer and the finish chips at the first fingernail. Do it right and it looks factory-finished and wears like it.
All of that is why our estimates spell out the prep — what gets washed, scraped, repaired, caulked and primed — rather than just a price per wall. It's the part of the job you're actually paying for, and it's the part we'd want to know about if we were hiring a painter. Call (720) 278-4927 to have us look at your project and walk you through what it needs.